Deploy Your Dockerfile From a Git Repository
Deploy from a Git repository when you want Code Capsules to build your image for you. Code Capsules builds an image from the Dockerfile in your repository, runs it, and can rebuild automatically each time you push to your branch.
To deploy an image you have already built and published instead, see Deploy an existing image.
Prerequisites
Before creating a capsule, make sure you have:
- A Code Capsules account with a Team and Space
- A repository containing a working
Dockerfile— see Prepare your Dockerfile - Your version control account linked under Connect Version Control
Prepare your Dockerfile
Code Capsules builds your image from the Dockerfile in your repository. The resulting container must meet the container requirements: it must listen on 0.0.0.0 on the capsule's network port and start your application with CMD or ENTRYPOINT.
This Dockerfile works for a Node.js application:
FROM node:20-alpine

WORKDIR /app
COPY package*.json ./
RUN npm ci --only=production
COPY . .

ENV HOST=0.0.0.0
ENV PORT=3000
EXPOSE ${PORT}

CMD ["node", "server.js"]
In your application code, read the port from the PORT environment variable. See Use the PORT environment variable for examples in other languages.
const port = process.env.PORT || 3000;
app.listen(port, '0.0.0.0', () => {
  console.log(`Listening on port ${port}`);
});
Everything your app needs must be declared in the Dockerfile. Unlike Backend Capsules, Docker Capsules do not detect your language or install dependencies for you.
Standard Docker practices work as usual. Use multi-stage builds to keep your image small, and install system packages with your base image's package manager. See Docker's build best practices.
By default, Code Capsules uses /Dockerfile at the repository root and / as the build context. If your Dockerfile is somewhere else, set the Dockerfile location when you create the capsule, or see Configure for monorepo layouts.
Create the capsule
- Log in to Code Capsules and open the Space where you want to run your application.
- Click the yellow + button and select New Capsule.
- Choose Docker Capsule, your Team, and Space, then click Next.
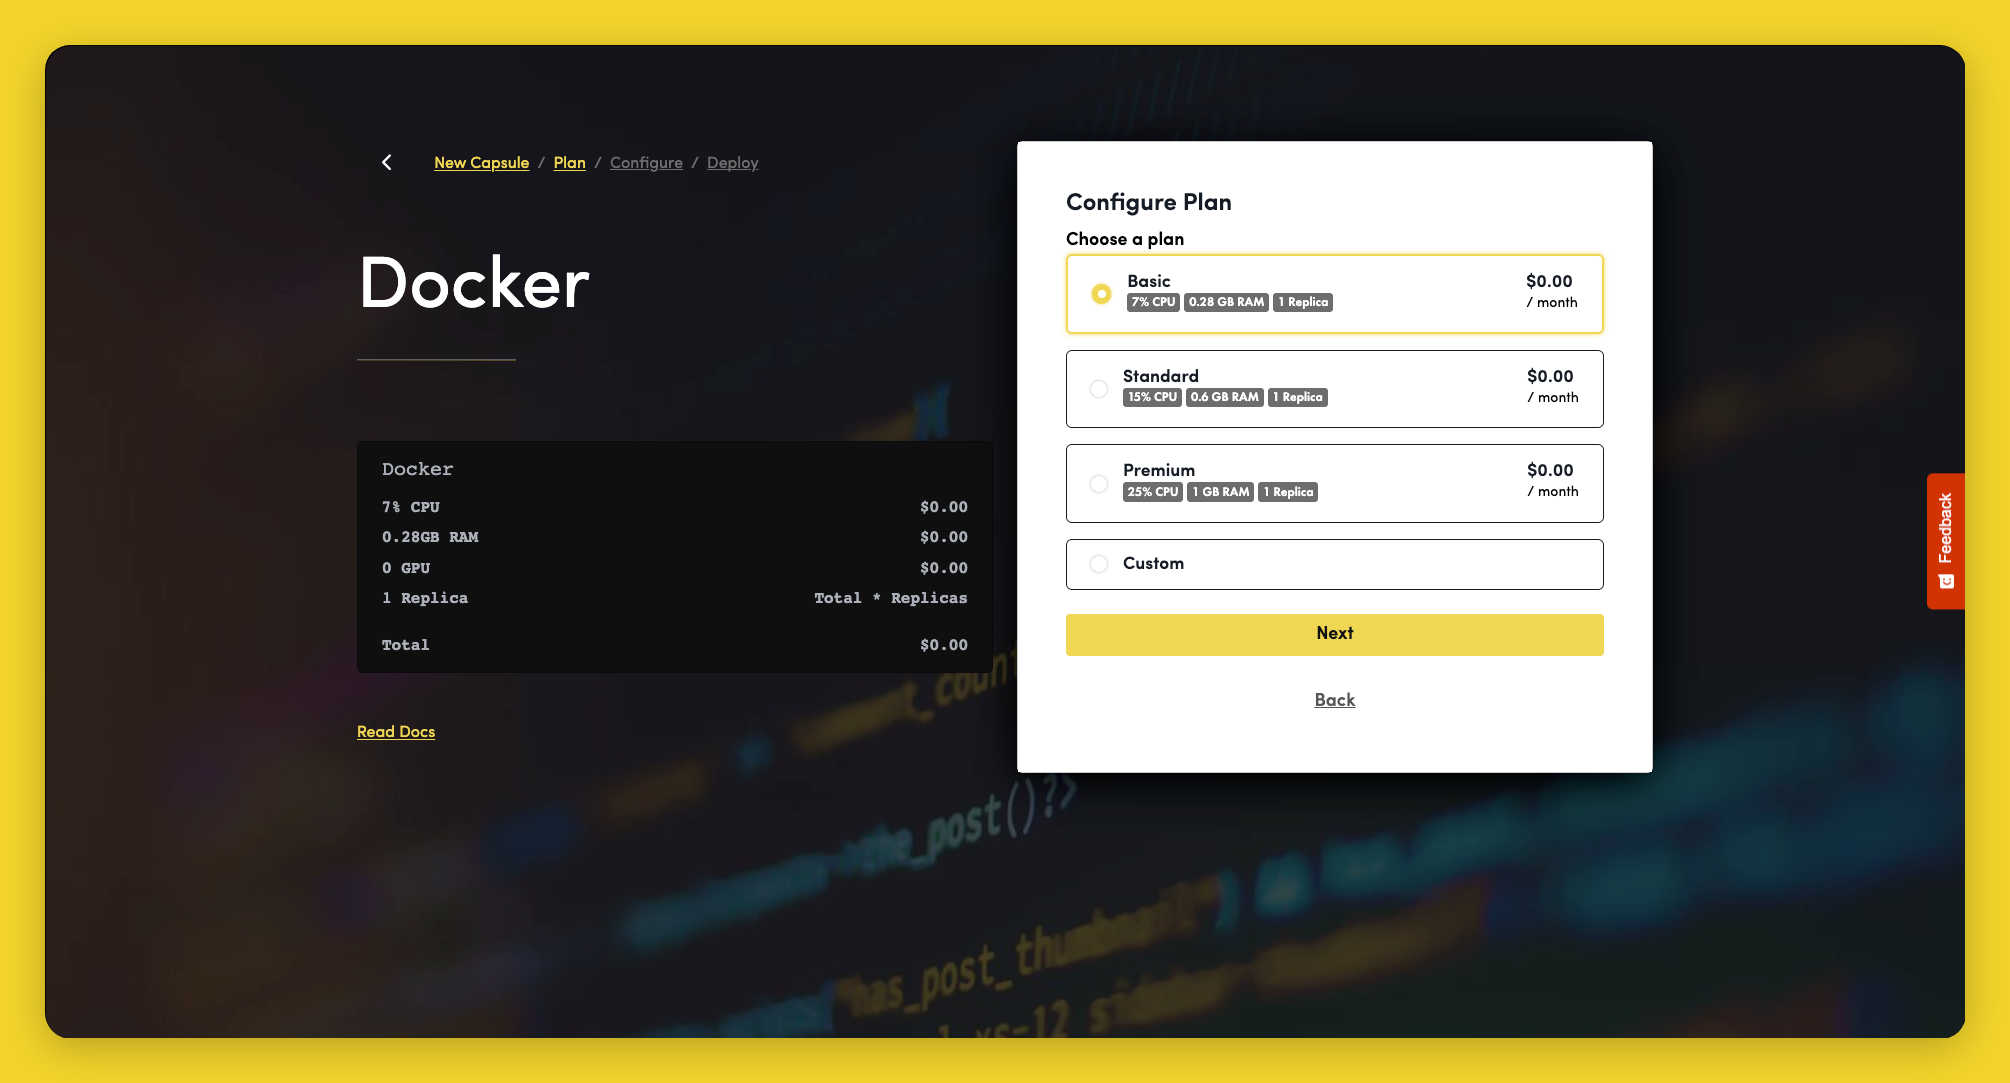
- On the Plan step, select or customize a payment plan, then click Next.
- On the Source step, select Git repository.
- Select a repository from the Git Repository list, or click Configure Git for Code Capsules to link a new one.
- Select the Branch to deploy from, then click Next.
- On the Deploy step, set your build options:
- Dockerfile location — the subfolder containing your
Dockerfile. Leave empty if the Dockerfile is at the repository root (uses/Dockerfile). - Docker build context — the directory used as the Docker build context. Leave empty for the repository root.
- Capsule Name — a display name for your capsule.
- Dockerfile location — the subfolder containing your
- Click Create Capsule.
Code Capsules creates the capsule, links it to your repository, assigns a default hostname, and automatically starts the first build. You are taken to the capsule Details tab.
Verify your capsule
- Open the Details tab and click the capsule URL.
- If the page does not load, check the network port and the container requirements.
- If the build fails, read the build log in the Builds tab — see Troubleshooting builds.
Next steps
After the first build, manage how your capsule is rebuilt and updated:
- Builds & Auto-deploy — manual builds, auto-deploy on push, and changing the repository, branch, or Dockerfile path
- Deployments — deployment strategy, build history, and rollback